How to Play the Recorder

A recorder is easy to play, and like the glockenspiel xylophone, it makes a great instrument for children and new musicians of all ages.
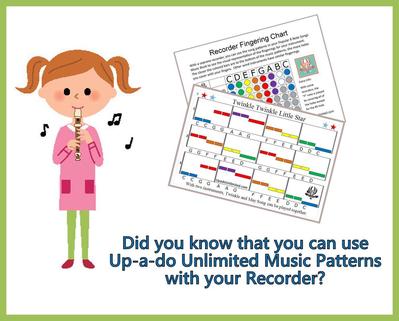
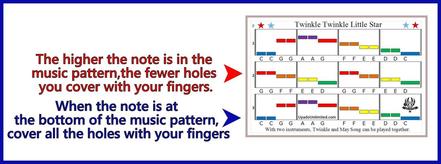
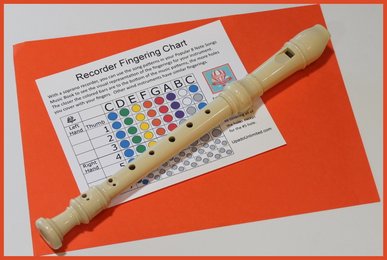
The color-coded and letter-coded music patterns created by the crew at Up-a-do Unlimited work quite well with the recorder because musicians can visualize the placement of their fingers on the recorder by watching where the color blocks are located in the pattern. The closer the blocks are to the bottom of the music pattern, the more holes of the recorder the musician covers.
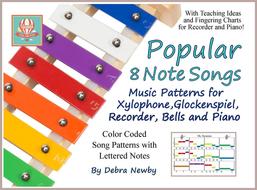
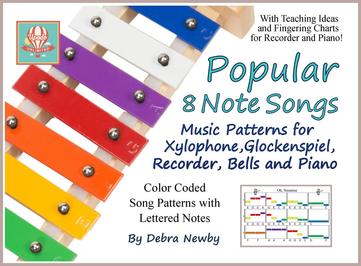
The newest edition of Popular 8 Note Songs: Music for Xylophone, Glockenspiel, Recorder, Bells and Piano contains Fingering Charts for both the recorder and also the piano to help music students successfully match the patterns and play the songs.
Recorders are in the woodwind family, and although some are made of wood, most musicians new to the instrument purchase a plastic soprano recorder first.
GOOD POSTURE
To begin, sit with good posture at the edge of your seat so you can use your diaphragm to take deep, full breaths. Before picking up your recorder, practice blowing air through your lips. The air should be steady and gentle like you are blowing soap bubbles.
HOLDING THE RECORDER
When you hold your recorder, the single hole will face you, and the side of the recorder with many holes will face up. Your left hand will be at the top on the end closest to the mouth piece. Use your left thumb to cover the single bottom hole, and use your left index finger to cover the top hole on the other side.
PLAYING THE "B" NOTE
Place your recorder between your lips, and do not bite on the mouth piece with your teeth. Blow gently. You should be playing a “B” note. If you are having trouble with a squeaky sound, you may be blowing too hard, or you might not have the holes covered completely with the pads of your fingers. Keep trying!
TONGUING TECHNIQUE
When playing a note on the recorder, you use your tongue to start and stop the sound by placing your tongue on the roof of your mouth behind your teeth. You can do this by saying the word “ta” or “duh” as you play the note. You do not actually say the word out loud, but just use that word movement to help you master the correct tonguing technique.
READING THE FINGER CHART
Using the color-coded Recorder Fingering Chart in Popular 8 Note Songs, a new musician can see the finger placement of the eight notes in the “C” scale. All that is needed to play every song in the book are these eight notes: C-D-E-F-G-A-B-C. Practice playing the “C” scale by carefully and completely covering the holes of your recorder that match the note you wish to play.
PLAYING A SONG
One of the easiest songs to play in Popular 8 Note Songs is Mary Had a Little Lamb. Start by covering the bottom hole with your left thumb and also the top two holes with your left index finger and middle finger. This is an “A” note, and it is purple on your Recorder Fingering Chart. Match the rest of the colors in the music pattern to the colors on the Fingering Chart, and you will be able to play the song!
If you need any further assistance, please contact us at info@UpadoUnlimited.com. We’re here to help!

